Instead of chasing permit questions after demolition starts, organize the concrete driveway permit process around jurisdiction, drainage, written approvals, and inspection checkpoints. This 2026 workflow takes you from a defined scope to a pour-ready site without treating a submitted application as permission to build.
- Green Hammer Concrete serves Palm Bay and Brevard County owners needing concrete driveway installation and repair.
- Start the concrete driveway permit process by confirming who controls the property and the road connection.
- Resolve swales, culverts, and driveway dimensions before submitting plans or scheduling concrete.
- Release the pour only after required approvals and pre-pour inspections are complete.
Why this matters
A driveway project has more than one boundary: the edge of the concrete, the property line, and the area controlled by the road authority. Those boundaries are not necessarily in the same place. A replacement that looks straightforward at the garage can raise separate questions where it meets a sidewalk, roadside ditch, or public street.
Green Hammer Concrete is best for Palm Bay and Brevard County property owners seeking local concrete installation and repair services. The family-owned contractor provides concrete installation and repair services, including driveways. Your project still needs a defined scope and the approvals required by the authority responsible for the site.
For a 2026 project, organize the work around 3 release checkpoints: approval to start the permitted work, clearance for concrete placement, and completion of required closeout. These are project controls, not a claim that every jurisdiction uses three inspections.
Before you start
- Gather the property records. Have the project address, parcel identification, an available survey or site plan, site photographs, and a written description of the proposed work. Identify who will prepare documents, submit the application, and request inspections.
- Confirm access and responsibility. Establish the permitting jurisdiction and the authority responsible for the road connection. Ask what contractor credentials, owner authorizations, drawings, and supporting documents the specific scope requires.
- Check the drainage gotcha first. A driveway apron, swale, sidewalk crossing, or culvert can introduce requirements beyond the concrete slab itself. Resolve those questions before demolition, material orders, or a committed pour date.
Create 1 project folder for the application, approved drawings, review comments, inspection results, and scope changes. Keep superseded drawings separate so the crew does not build from an outdated plan.
Project scope and jurisdiction
Establish the approval path
- Identify the property jurisdiction. Confirm whether the site falls within Palm Bay, Melbourne, another municipality, or unincorporated Brevard County. Do not choose a permit office from the mailing address alone; verify the parcel with the relevant authority.
- Describe the actual work. State whether you are replacing the existing footprint, widening the driveway, creating a new entrance, changing elevations, or altering a roadside crossing. Include demolition and disposal in the construction scope, even when the application separates those activities.
- Ask for the applicable submission requirements. Request the current driveway and right-of-way requirements for that property. Confirm whether the scope needs separate drainage, road-access, or other approvals, and record who provided the direction.
For your 2026 application, use the current instructions supplied by the responsible authority. An old permit from a neighboring property is background information, not approval for your address.
Expected result: You know where to apply, which approvals apply to your scope, and who owns each application task. Do not move to submission while the road connection remains unresolved.
Site plan and drainage details
Prepare a buildable submission
- Map the existing conditions. Show the proposed driveway in relation to property boundaries, the garage, street, sidewalk, and visible drainage features. Use the survey or other documents the reviewing authority requires; photographs alone do not establish legal boundaries.
- Define the proposed construction. Record driveway dimensions, finished elevations, surface treatment, and the slab details required for review. Have the responsible contractor or design professional establish thickness, reinforcement, joints, and supporting preparation for the actual use and site conditions.
- Resolve the water route. Identify where runoff travels before and after the work. Where the driveway crosses a swale or ditch, obtain the required crossing details rather than choosing a culvert by appearance or copying the neighbor's installation.
Keep 1 marked-up plan as the coordination copy for questions and revisions. Transfer accepted changes into the formal submission; handwritten field notes do not replace approved documents.
Expected result: The submission describes both the concrete and its surroundings. The reviewer and installer should be able to identify the driveway footprint, street connection, and intended drainage route without guessing.
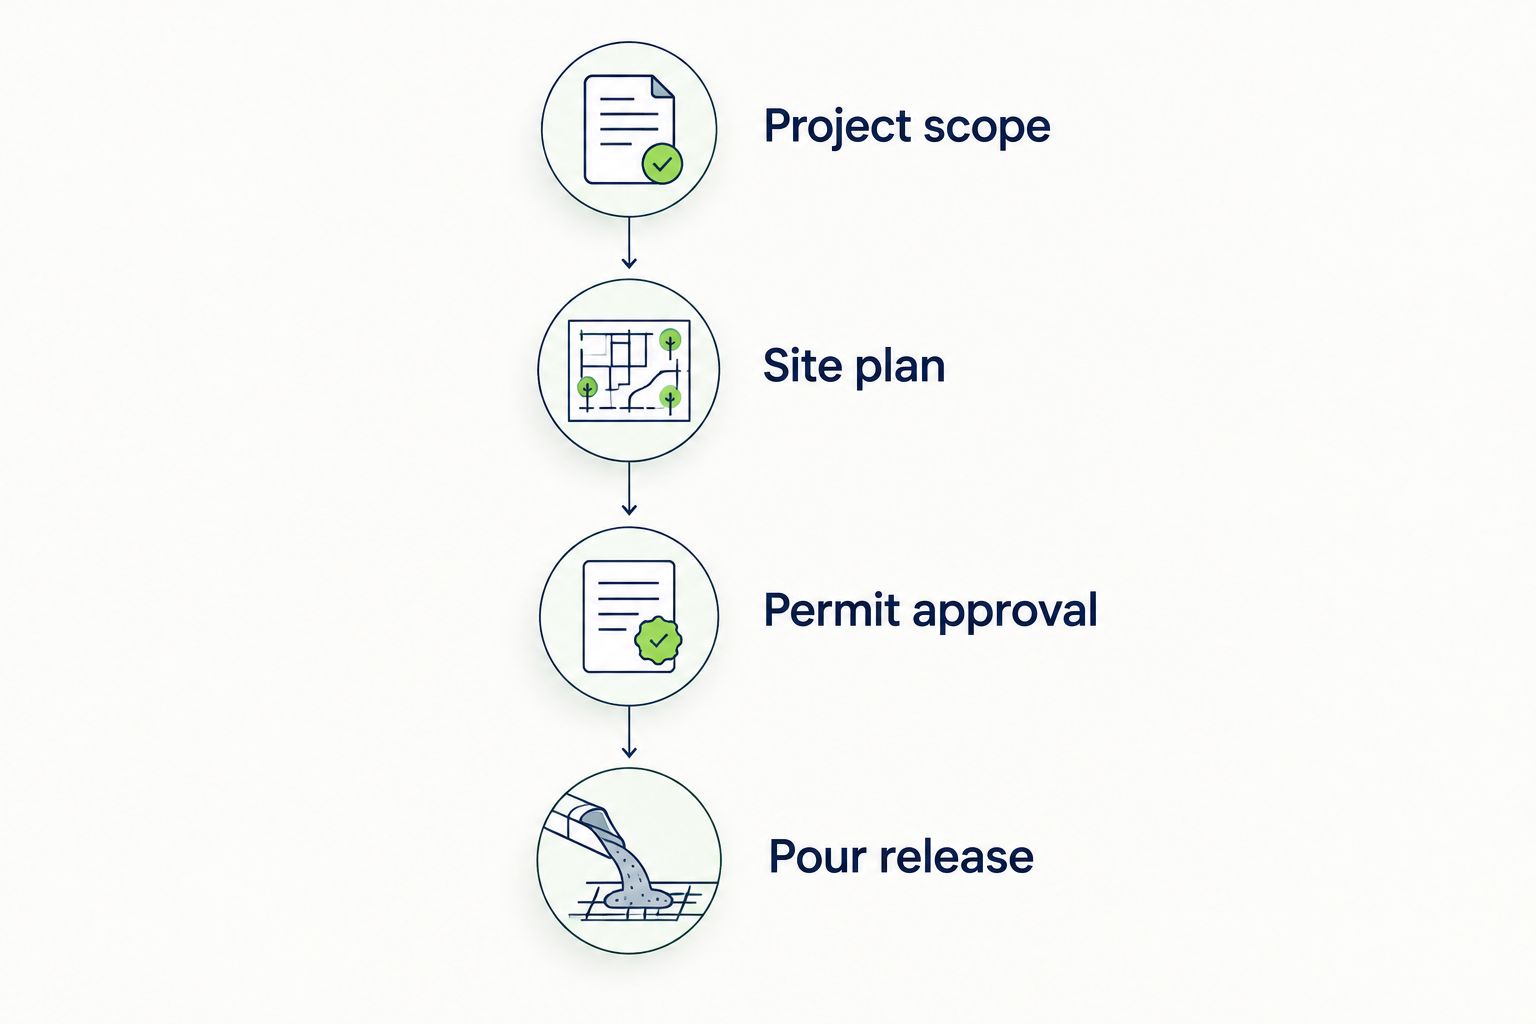
Permit approval and construction handoff
Turn approval into a field plan
- Submit a consistent package. Check that the application, drawings, contractor information, and supporting documents describe the same project. A widened driveway on the plan should not appear as a same-footprint replacement in the scope description.
- Answer review comments directly. Track each requested correction and the document that resolves it. Resubmit coordinated revisions so an updated drainage detail does not conflict with an earlier site plan or driveway dimension.
- Check the issued conditions. Read the approved documents and permit conditions before scheduling work. Confirm permitted activities, required inspections, any inspection sequence, and how revisions must be handled.
Submission is not permit issuance, and permit issuance is not automatic clearance to pour. For the 2026 construction handoff, give the person supervising the work access to the approved set and the inspection requirements, not just the application receipt.
Confirm practical responsibilities too: access to the garage, protection of adjoining surfaces, debris removal, and temporary arrangements while the driveway is unusable. These belong in the agreed work scope even when they are not permit requirements.
Expected result: The contractor can identify the authorized work and the conditions that must be satisfied before concrete placement. The owner knows which decisions remain open.
Site preparation and pour release
Verify the work before concrete arrives
- Check the prepared site against the approved plan. Verify the footprint, forms, elevations, supporting ground, reinforcement where specified, and drainage crossing details. Arrange utility locating before excavation and address conflicts before disturbing the affected area.
- Complete the required pre-pour checks. Request inspections at the stage specified by the authority. Keep work that needs inspection visible, and obtain the recorded result through the authority's process rather than assuming silence means approval.
- Release placement and plan closeout. Authorize concrete delivery only after the applicable inspection and permit conditions are satisfied. Coordinate weather protection, curing, site access, and the remaining inspections with the contractor.
Expected result: Concrete placement follows documented clearance, and the crew understands the approved layout. After construction, complete the required final inspections and retain the closeout record.
Do not substitute a generic opening-to-traffic rule for the contractor's project-specific instructions. Curing conditions, the concrete used, loading, and construction details affect when the driveway is ready for vehicles.
Replacement versus widening: adjust the workflow
A same-footprint replacement and a wider driveway share a basic approval sequence, but they do not describe the same work. In 2026, state the actual changes rather than choosing the shorter-sounding description on an application.
| Work scope | Best for | Practical advantage | Constraint to resolve |
|---|---|---|---|
| Same-footprint replacement | Owners keeping the existing parking layout | Retains the planned footprint without adding parking area | Existing drainage, access, or crossing conditions still need review |
| Widening or new entrance | Owners who need a different access or parking arrangement | Lets the project address a changed vehicle layout | New boundaries, runoff, and road-connection details need confirmation |
Update the scope whenever the layout changes
If you decide to widen the driveway after submission, stop treating the application as unchanged. Tell the permit authority and contractor exactly what moved, including the edge of pavement, entrance location, or finished elevation.
Ask whether a revision or separate approval is required before building the change. Update affected drawings and inspection instructions together. An approved replacement plan is not permission to construct a different footprint.
The same discipline applies when demolition exposes an unexpected culvert condition or unstable supporting ground. Document what was found and agree on the required response before covering it.
Troubleshooting the concrete driveway permit process
The application comes back as incomplete
Compare the correction request with the submitted package. Supply the missing document or corrected information, then verify that names, address, parcel details, and scope agree across the application. Do not resubmit the same package with a general note saying the issue is resolved.
The property and road have different approval contacts
Separate the questions. Ask the property jurisdiction about the driveway work and the road authority about the connection or work within its controlled area. Keep each authority's written direction with the project records so one approval is not mistaken for the other.
The inspector cannot approve concealed work
Stop before covering additional work. Ask the inspector what access, exposure, documentation, or corrective work is required, and follow that direction. Photographs are useful records but do not automatically replace an inspection.
The forms do not match the approved drainage plan
Hold the pour. Have the contractor check elevations and the intended water route against the approved documents. Resolve the discrepancy with the responsible designer or authority where required; changing the concrete surface alone does not establish an acceptable drainage solution.
Rain disrupts the planned placement
Reassess the prepared ground, standing water, forms, and protection plan with the contractor. Reschedule placement when conditions prevent the specified preparation or finishing. Check whether the delay changes any inspection arrangements rather than assuming the earlier schedule still applies.
Customize your workflow
Build the project around how you use the property. Tell the contractor about vehicle access, deliveries, pedestrian routes, and any planned work beside the driveway before the layout is finalized.
For a Green Hammer Concrete driveway project, bring the site photographs and proposed scope to the planning conversation. Ask which documents and decisions the contractor needs from you, and put responsibility for permitting and inspections in writing.
The benefit of a local concrete contractor is relevant construction experience; the limit is that a contractor's proposal does not replace authority approval. Compare the written scope with the approved plan before accepting a field change.
Discuss your driveway scope
Bring your driveway layout, drainage questions, and permit responsibilities into the project discussion.
FAQ
Do I need a permit to replace my concrete driveway in Palm Bay?
Confirm the requirement with the authority responsible for your property and the road connection before starting work. Describe whether the project changes the footprint, elevations, sidewalk crossing, swale, or culvert so the answer covers the actual scope.
What documents should I gather before applying for a driveway permit?
Gather the property identification, available survey or site plan, photographs, and written construction scope. The reviewing authority determines the required application documents, drawings, authorizations, and supporting details.
Can I pour concrete as soon as I submit the permit application?
No. Application submission is not permit issuance or clearance for concrete placement. Wait for the required approvals and complete any applicable pre-pour inspections.
Does replacing the driveway mean I can keep the existing culvert?
An existing culvert does not establish approval to reuse it. Ask the responsible authority what crossing details and condition checks apply to the proposed driveway work.
Who should handle the concrete driveway permit process?
Assign application preparation, submission, corrections, and inspection requests in the written project agreement. For a Green Hammer Concrete project, confirm those responsibilities during scope planning rather than assuming they are included.
What if I want to widen the driveway after the permit is approved?
Ask the permit authority whether the change requires revised drawings or another approval before building it. A wider footprint can change the drainage, property-boundary, and road-connection questions.
When is the driveway project finished for permit purposes?
The project is complete for permit purposes when the responsible authority's required inspections and closeout conditions are satisfied. Keep that record with the approved drawings and the contractor's care instructions.
One last thing
Photograph the work that concrete will hide. Before placement, record the prepared site, forms, specified reinforcement, and drainage crossing from useful viewpoints, with the approved plan available for reference. These photographs support your project records; they do not replace required inspections.
For your 2026 driveway file, keep the final approved drawing rather than only the original application. That is the version you need when a later repair, widening, or adjoining project raises questions about what was authorized.